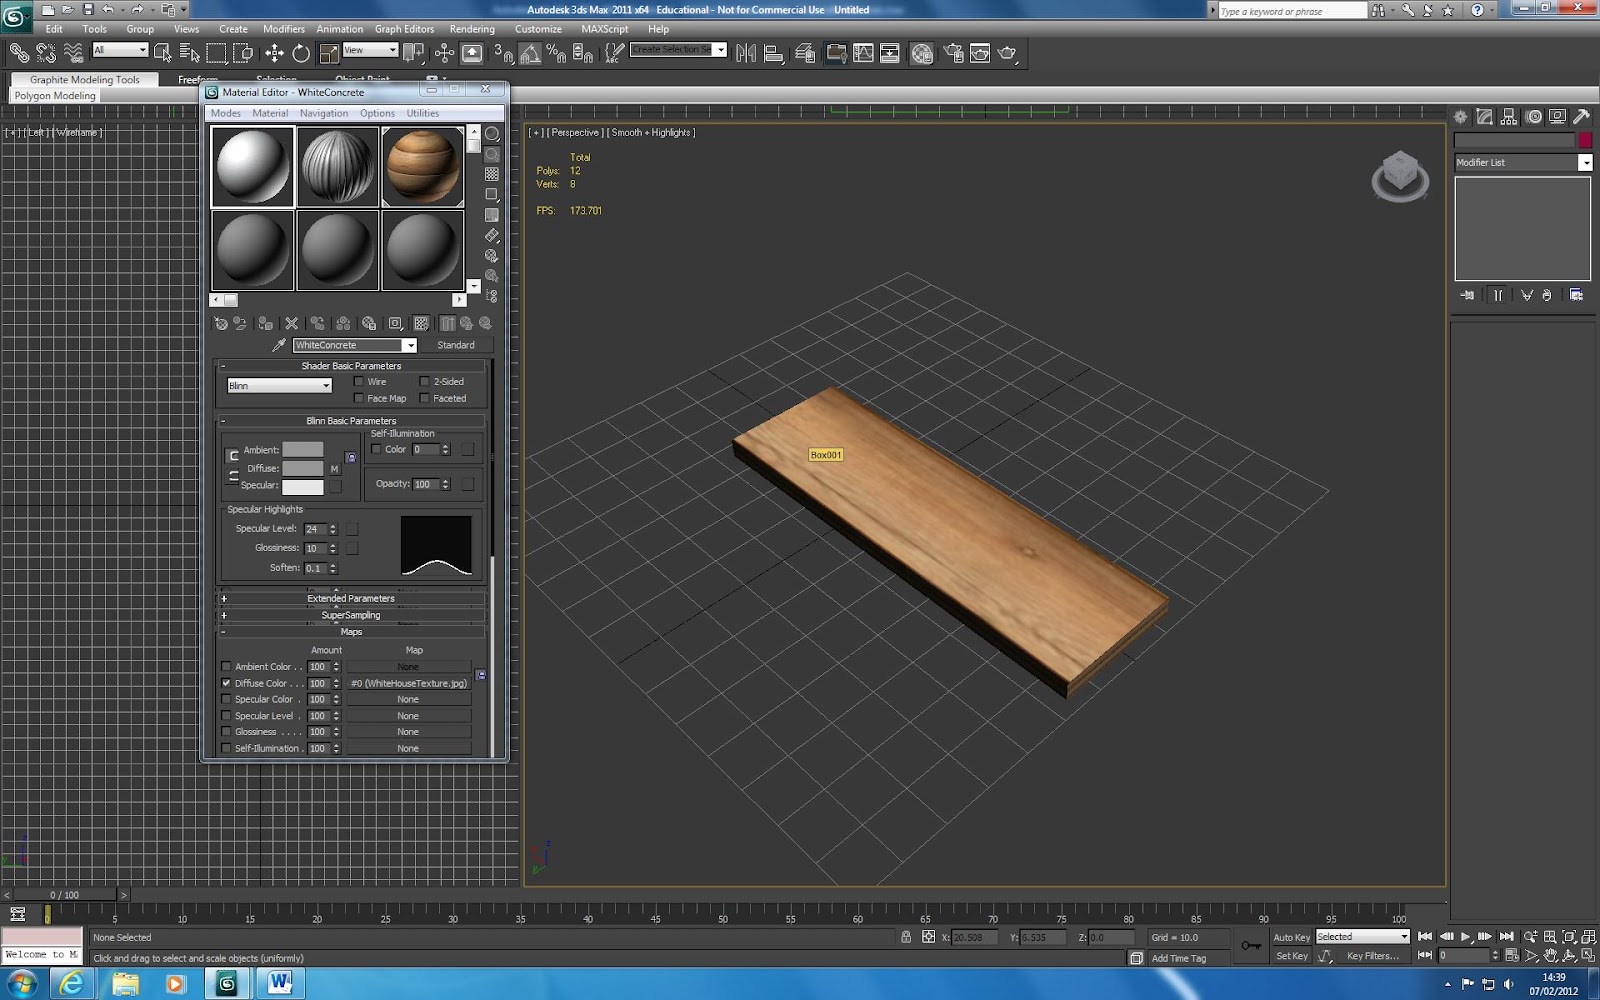
In the screen shot below I have started basic and gone for a plank of wood.
When going into the materials editor you are presented woth a view of six spheres, these are your templates.
To import a custom texture all we needed to do was to click onto Diffuse and select Bitmap, this allows you to select the texture picture.
The challenge now comes when making the material, basically a picture rapped around the object, appear realistic. The best tool for this was in the maps tap. Just dragging and dropping the image route into the Bump row gives the texture picture bumps and lumps and actual texture. This can be fine tuned along with the glossiness and specualr level to give the proper lighting effects.

No comments:
Post a Comment