Sound Editing
Once the animation had rendered, it was time to add the
sound. Although this was not a requirement of the specification, I felt that it
would just be a nice touch.
Using Adobe Premiere to add the sound was very simple. The
software is very easy to pick up, with the hardest part deciding what formats
to use for the output. Once opening the software, the animation render was
imported. It appeared in the top left-hand corner of the window and then it was
just a case of dragging and dropping it into the timeline at the bottom of the
screen.
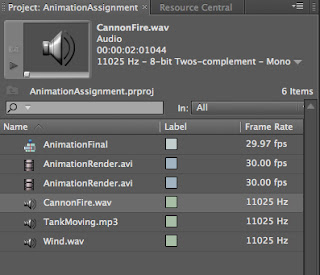
The sound clips were imported in the same fashion and dragged
and dropped onto the audio timeline below the video output. It was then a case
of matching the sounds to the animation. This was done easily by dragging the
sound clips along the timeline, clipping or extending them. Throughout the
process you are able to see the animation in the top right-hand corner of the
window to make the overlay of sound easy to see.
And that was that, 12 weeks
and one animation complete with sound effects!


